i.MX Machine Learning User's Guide에 있는거 테스트 해봄
| The behavior is as follows: • If USE_GPU_INFERENCE=1, the graph is executed on the GPU • Otherwise, the graph is executed on the NPU (if available) By default, the NPU is used for OpenVX graph execution. |
전체 실행시간으로는 neon 이 가장 빨랐고, inference 시간으로는 NPU가 가장 빨랐다.
의외로 GPU 가속이 NEON만도 못하다는 충격적인(!) 결과가..
| root@imx8mpevk:/usr/bin/tensorflow-lite-2.12.1/examples# time ./label_image INFO: Loaded model ./mobilenet_v1_1.0_224_quant.tflite INFO: resolved reporter INFO: invoked INFO: average time: 41.16 ms INFO: 0.764706: 653 military uniform INFO: 0.121569: 907 Windsor tie INFO: 0.0156863: 458 bow tie INFO: 0.0117647: 466 bulletproof vest INFO: 0.00784314: 835 suit real 0m0.173s user 0m0.520s sys 0m0.024s |
| root@imx8mpevk:/usr/bin/tensorflow-lite-2.12.1/examples# time USE_GPU_INFERENCE=0 ./label_image --external_delegate_path=/usr/lib/libvx_delegate.so INFO: Loaded model ./mobilenet_v1_1.0_224_quant.tflite INFO: resolved reporter Vx delegate: allowed_cache_mode set to 0. Vx delegate: device num set to 0. Vx delegate: allowed_builtin_code set to 0. Vx delegate: error_during_init set to 0. Vx delegate: error_during_prepare set to 0. Vx delegate: error_during_invoke set to 0. EXTERNAL delegate created. INFO: Applied EXTERNAL delegate. W [HandleLayoutInfer:291]Op 162: default layout inference pass. INFO: invoked INFO: average time: 2.861 ms INFO: 0.768627: 653 military uniform INFO: 0.105882: 907 Windsor tie INFO: 0.0196078: 458 bow tie INFO: 0.0117647: 466 bulletproof vest INFO: 0.00784314: 835 suit real 0m3.116s user 0m2.916s sys 0m0.195s |
| root@imx8mpevk:/usr/bin/tensorflow-lite-2.12.1/examples# time USE_GPU_INFERENCE=1 ./label_image --external_delegate_path=/usr/lib/libvx_delegate.so INFO: Loaded model ./mobilenet_v1_1.0_224_quant.tflite INFO: resolved reporter Vx delegate: allowed_cache_mode set to 0. Vx delegate: device num set to 0. Vx delegate: allowed_builtin_code set to 0. Vx delegate: error_during_init set to 0. Vx delegate: error_during_prepare set to 0. Vx delegate: error_during_invoke set to 0. EXTERNAL delegate created. INFO: Applied EXTERNAL delegate. W [query_hardware_caps:89]Unsupported evis version W [HandleLayoutInfer:291]Op 162: default layout inference pass. INFO: invoked INFO: average time: 171.261 ms INFO: 0.784314: 653 military uniform INFO: 0.105882: 907 Windsor tie INFO: 0.0156863: 458 bow tie INFO: 0.00784314: 466 bulletproof vest INFO: 0.00392157: 835 suit real 0m1.992s user 0m1.377s sys 0m0.103s |
'embeded > i.mx 8m plus' 카테고리의 다른 글
| missed: not vectorized: relevant stmt not supported: (0) | 2023.08.31 |
|---|---|
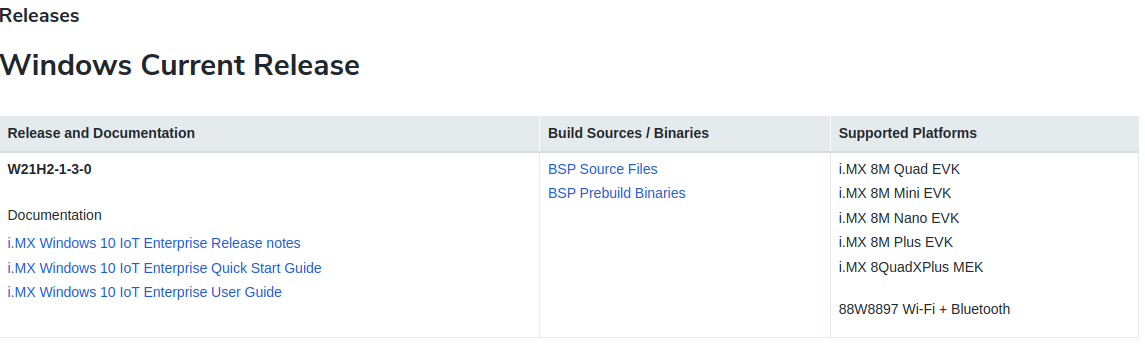
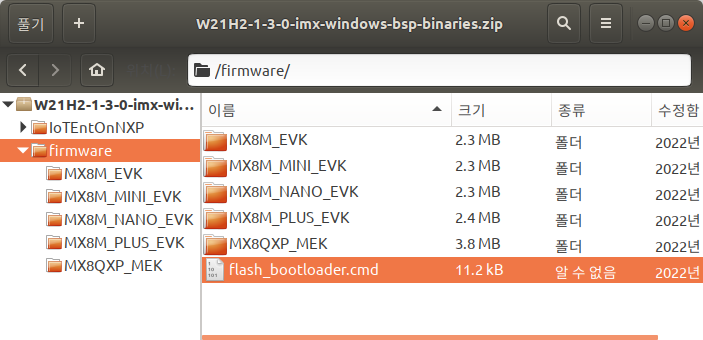
| nxp i.mx8mp win iot part 2 (0) | 2023.05.26 |
| nxp i.mx8mp win iot (0) | 2023.05.26 |
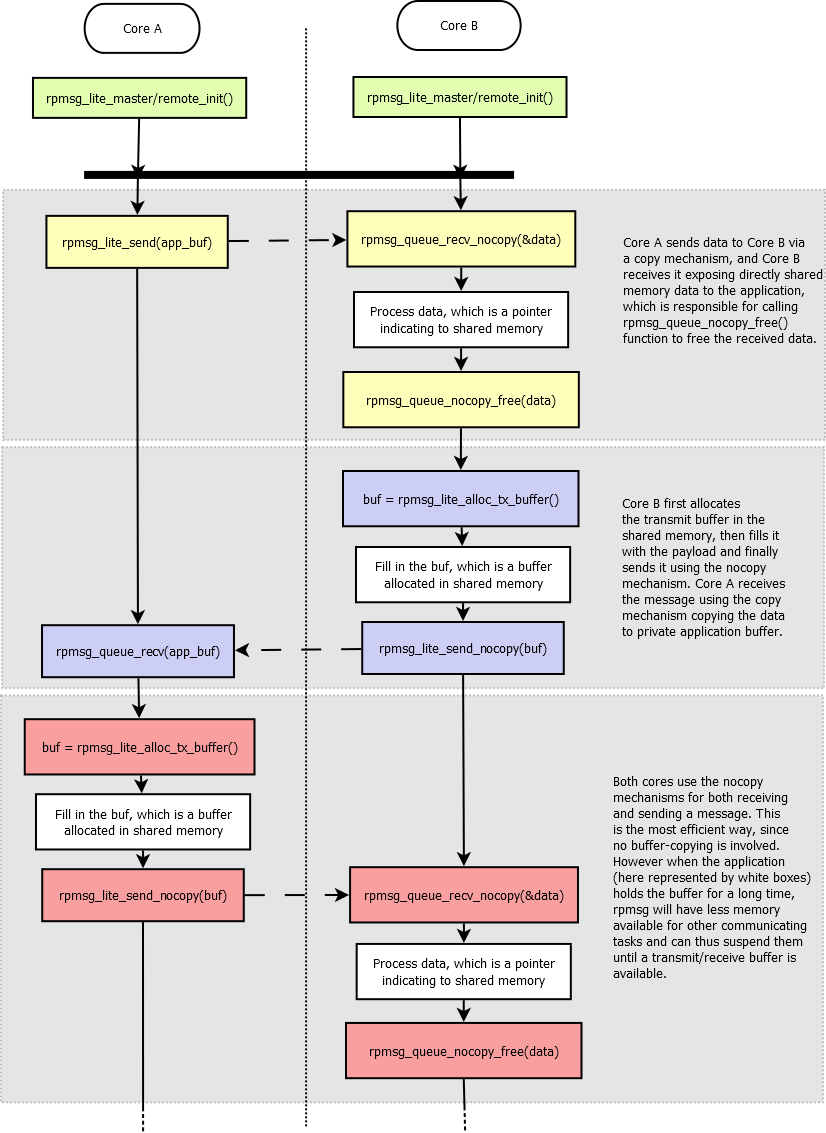
| rpmsg-lite (0) | 2023.03.23 |
| i.mx8m plus cortex-m7 part.2 (0) | 2023.02.23 |